Users
Manage user accounts, roles, permissions, and notification preferences
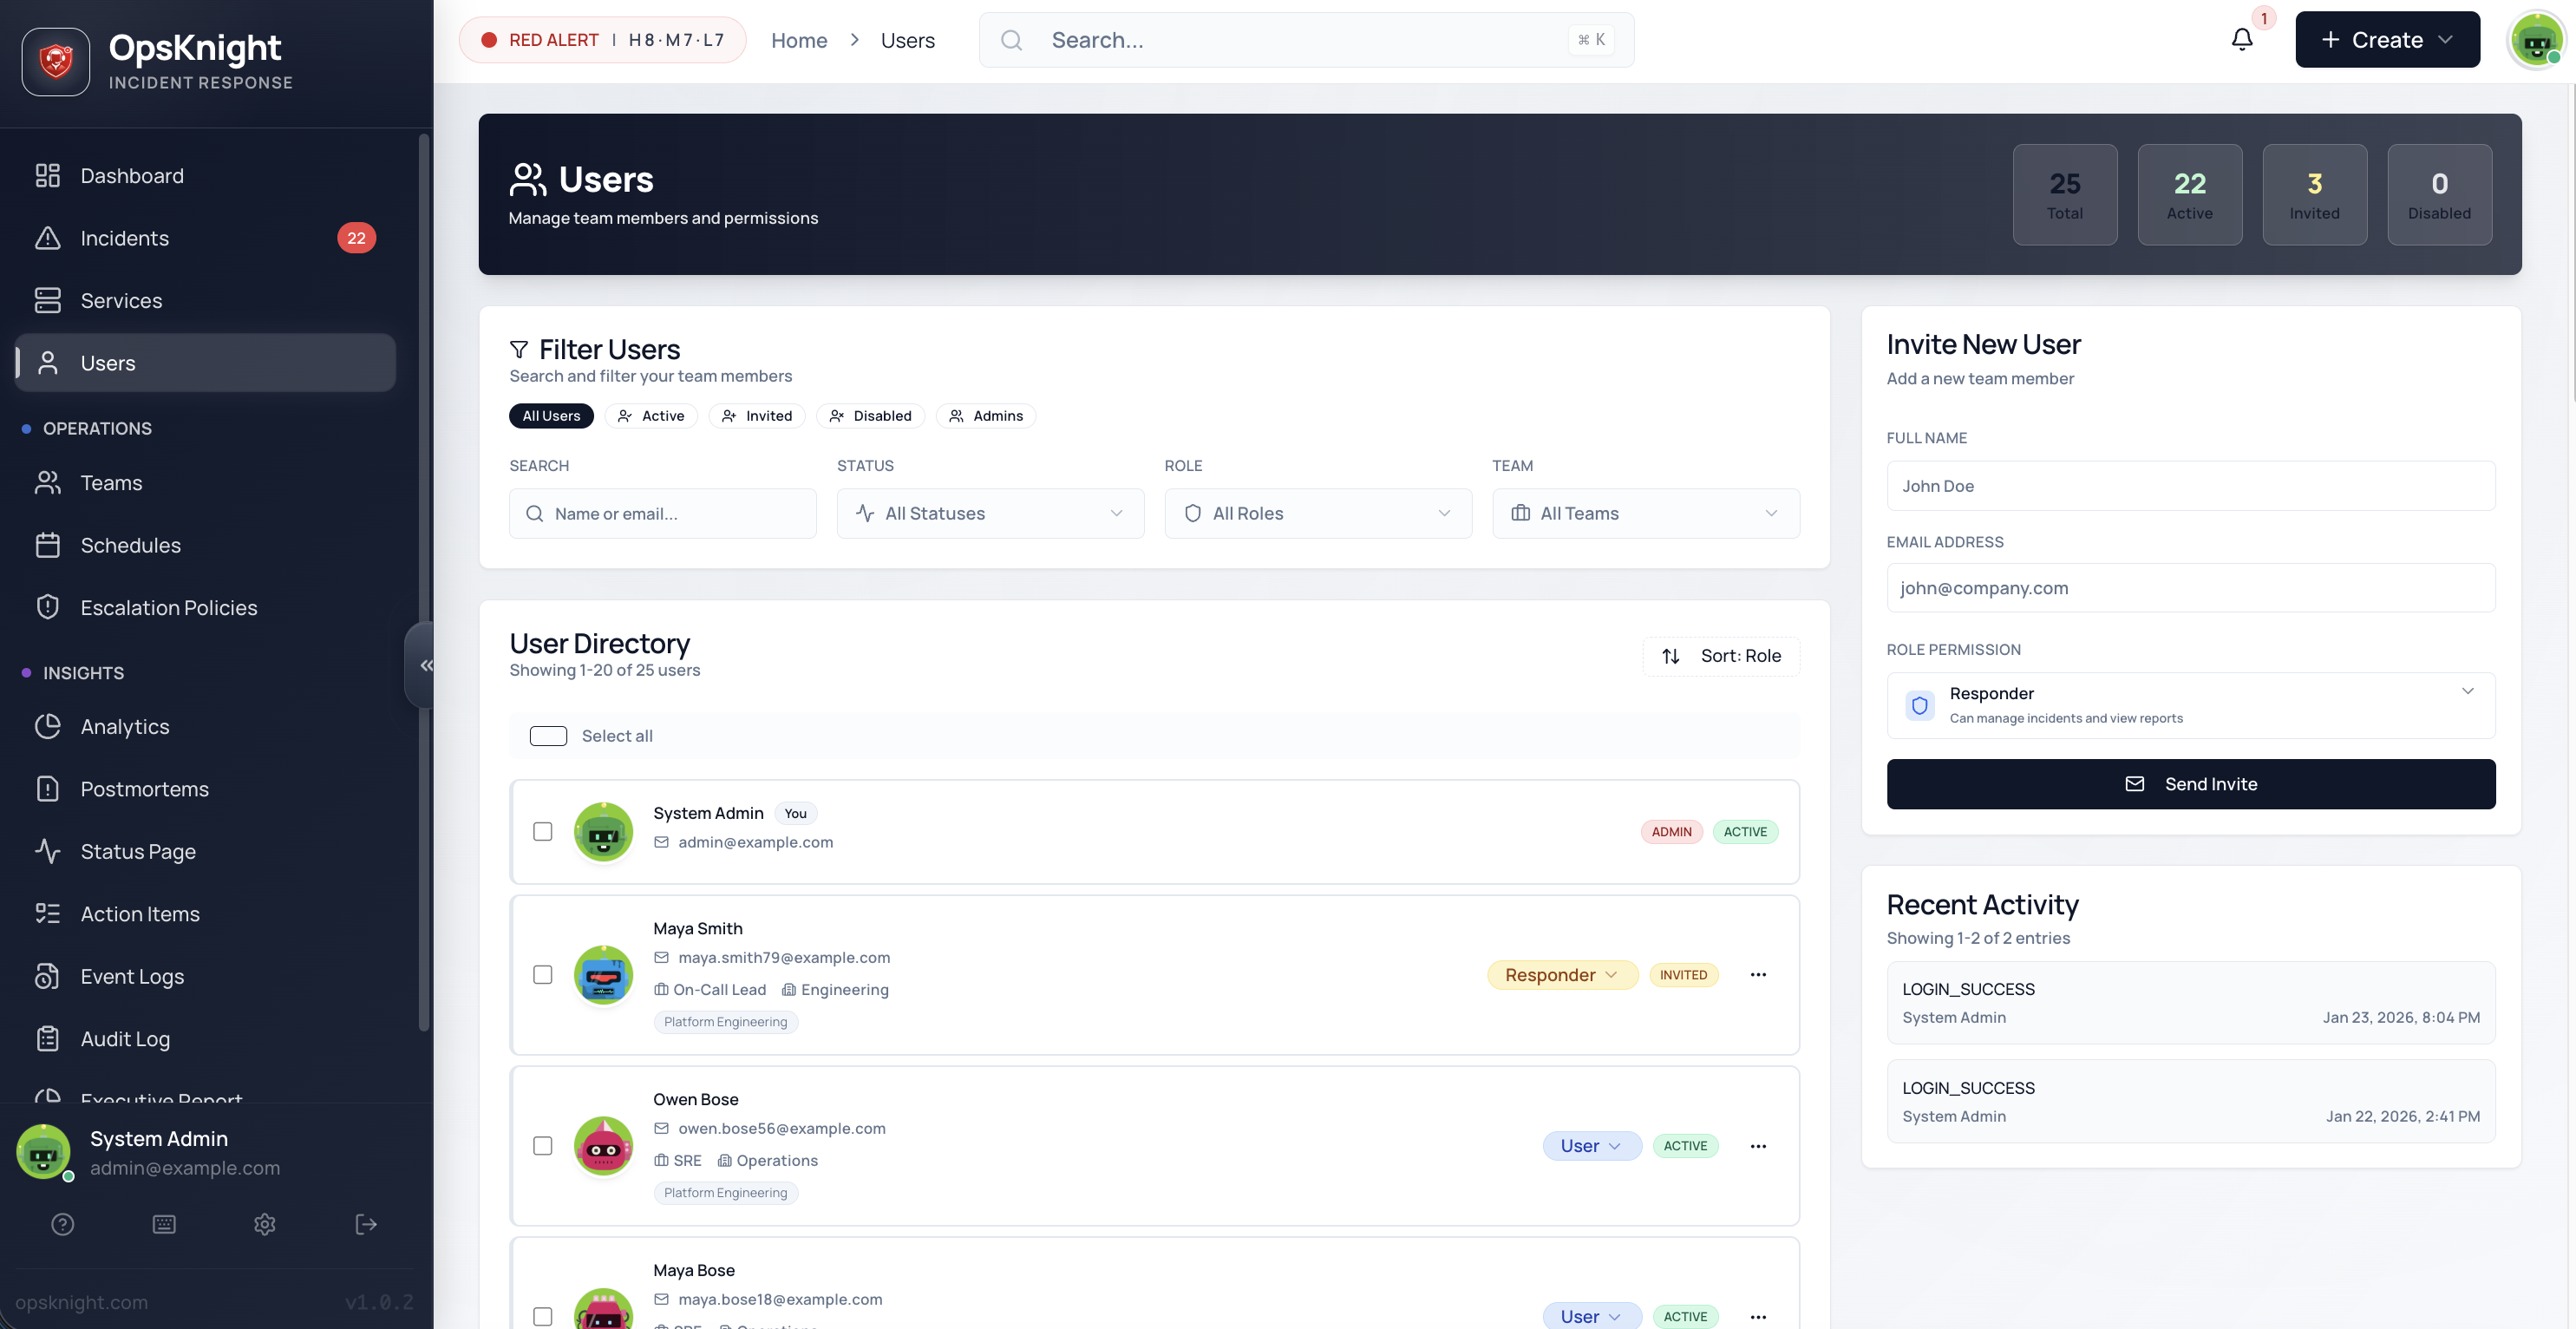
Users
Users are the people who interact with OpsKnight — from responders handling incidents to administrators managing the platform. This guide covers user management, roles, permissions, and personal settings.
Why User Management Matters
| Without Proper User Management | With Proper User Management |
|---|---|
| Everyone has full access | Role-based access control |
| No accountability | Clear audit trail |
| Alert fatigue for all | Targeted notifications |
| Manual onboarding | Streamlined invite flow |
User Roles
OpsKnight has three user roles with different permission levels:
| Role | Description | Best For |
|---|---|---|
| ADMIN | Full platform access | Platform administrators, team leads |
| RESPONDER | Incident handling capabilities | On-call engineers, SREs |
| USER | Read-only access | Stakeholders, managers |
Role Permissions Matrix
| Permission | Admin | Responder | User |
|---|---|---|---|
| View Dashboard | ✅ | ✅ | ✅ |
| View Incidents | ✅ | ✅ | ✅ |
| View Services | ✅ | ✅ | ✅ |
| Acknowledge Incidents | ✅ | ✅ | ❌ |
| Resolve Incidents | ✅ | ✅ | ❌ |
| Reassign Incidents | ✅ | ✅ | ❌ |
| Add Notes to Incidents | ✅ | ✅ | ❌ |
| Create Incidents | ✅ | ✅ | ❌ |
| Manage Schedules | ✅ | ✅ | ❌ |
| Create Overrides | ✅ | ✅ | ❌ |
| Create Services | ✅ | ❌ | ❌ |
| Edit Services | ✅ | ❌ | ❌ |
| Delete Services | ✅ | ❌ | ❌ |
| Manage Teams | ✅ | ❌ | ❌ |
| Manage Escalation Policies | ✅ | ❌ | ❌ |
| Manage Integrations | ✅ | ❌ | ❌ |
| Invite Users | ✅ | ❌ | ❌ |
| Manage User Roles | ✅ | ❌ | ❌ |
| System Settings | ✅ | ❌ | ❌ |
| View Analytics | ✅ | ✅ | ✅ |
| Export Data | ✅ | ✅ | ❌ |
User Statuses
Users move through different statuses in their lifecycle:
| Status | Description | Can Login |
|---|---|---|
| INVITED | Invitation sent, pending acceptance | ❌ |
| ACTIVE | Account active and functional | ✅ |
| DISABLED | Account deactivated | ❌ |
Status Flow
INVITED ──(accept invite)──► ACTIVE ──(deactivate)──► DISABLED
                                ▲                         │
                                └────(reactivate)─────────┘
Adding Users
First Admin Account (Initial Setup)
When OpsKnight starts with no users:
- Navigate to
/setupin your browser - Enter admin details:
- Email: Your email address
- Name: Your display name
- Click Create Admin
- Save the generated password immediately — it's shown only once
- Log in with your credentials
Important: The
/setuppage is only accessible when no users exist in the system.
Inviting Users (Standard Method)
The recommended way to add users:
- Go to Settings → Users
- Click Invite User
- Fill in the invitation form:
| Field | Required | Description |
|---|---|---|
| Yes | User's email address | |
| Name | Yes | Display name |
| Role | Yes | ADMIN, RESPONDER, or USER |
- Click Send Invitation
Invitation Process
- Invitation sent — User receives email with invite link
- Link expires — Invitations valid for 7 days
- User accepts — Clicks link, sets password
- Account active — User can log in immediately
Resending Invitations
If an invitation expires or user didn't receive it:
- Find user in the Users list (status: INVITED)
- Click the user row
- Click Resend Invitation
- New invitation email sent
User Profile
Each user has a profile with personal information and preferences.
Profile Fields
| Field | Description | Editable By |
|---|---|---|
| Login identifier | Admin only | |
| Name | Display name | User, Admin |
| Phone | Phone number for SMS | User, Admin |
| Timezone | User's local timezone | User, Admin |
| Avatar | Profile picture (Gravatar) | Automatic |
| Role | Permission level | Admin only |
| Status | Account status | Admin only |
Viewing Your Profile
- Click your avatar in the top-right
- Select Profile
- View and edit your information
Editing User Profiles (Admin)
- Go to Settings → Users
- Click on a user
- Edit fields as needed
- Click Save
Contact Methods
Users can configure contact methods for notifications.
- Primary email — Used for login and notifications
- Verified automatically — Via invitation process
Phone Number
For SMS and WhatsApp notifications:
- Go to Settings → Profile & Preferences
- Scroll to Notification Preferences
- Enter your phone number
- Click Save Changes
Note: Phone verification is handled during the notification setup process.
Notification Preferences
Each user controls how they receive notifications.
Accessing Preferences
- Go to Settings → Profile & Preferences
- Scroll to Notification Preferences
- Toggle channels on/off:
- SMS
- Push
Digest Settings
Control notification frequency:
- Go to Settings → Profile & Preferences
- Scroll to General Preferences
- Adjust Incident Digest level:
- HIGH (Default)
- ALL
- NONE
Security Settings
Changing Password
- Go to Settings → Profile & Preferences
- Scroll to Security section
- Enter current and new password
- Click Update Password
Session Management
Manage active sessions across devices:
- Go to Settings → Profile & Preferences
- Scroll to Security section
- View Active Sessions list
- Click Revoke to end a specific session
- Click Revoke All Others to secure your account
Note: Revoking a session immediately logs that device out.
API Tokens
Generate personal API tokens for automation.
- Go to Settings → Profile & Preferences
- Click API Tokens (if available)
Note: API Token management is currently restricted to Administrators.
Deactivating Users
When someone leaves or no longer needs access:
- Go to Settings → Users
- Find the user
- Click Deactivate
- Confirm user will no longer be able to log in
Troubleshooting
Can't Log In
- Check email/password are correct
- Verify account is ACTIVE
- Contact admin to reset password if needed
Not Receiving Notifications
- Check Notification Preferences in your Profile
- Verify Incident Digest is not set to NONE
- check Spam folder for emails
Related Topics
- Teams — Team membership and roles
- Schedules — On-call rotation management
- Notifications — Notification channel configuration
Related Topics
- Teams — Team membership and roles
- Schedules — On-call rotation management
- Notifications — Notification channel configuration
- Authentication — SSO and security settings
Last updated for v1
Edit this page on GitHub